September 7, 2026 Post by : Editorial Tallow Candles
Pouring Tallow Candles: Wicks, Jars, and Getting a Clean Burn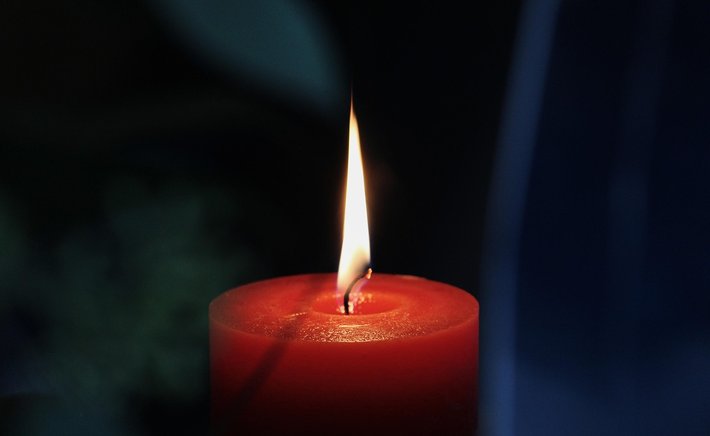
Pouring candles into jars is efficient. You melt the fat, set the wicks, fill the containers, and you are done. Hand dipping is the opposite. It is slow, repetitive, and almost meditative. You stand at the pot, lower a wick into the fat, pull it up, let it cool, and do it again. And again. Twenty, thirty, forty times, until the candle has grown thick enough to stand on its own.
People have been making candles this way for centuries, and there is a reason the method survived. Dipped tapers are elegant, they burn beautifully, and the process itself is a kind of quiet pleasure that pouring does not offer. If you have a few hours and a pound of clean tallow, it is worth trying at least once.
Setting Up the Dip Station
The setup is simple. You need a deep, narrow pot or a coffee can for melting the tallow, a dowel or stick to hang the wicks from, and a place to let the candles cool between dips. The pot should be tall enough that you can dip a good length of wick without the bottom hitting the fat. A coffee can works well for this because it is deep and easy to clean.
Melt the tallow gently and keep it at a steady temperature. If it is too hot, each dip will be thin and the candle will take forever to build. If it is too cool, the fat will clump and the surface will be lumpy. Aim for a temperature just above the melting point, where the fat is clear and liquid but not smoking.
Cut your wicks longer than you want the finished candle, because you will need something to hold onto. Tie them to the dowel with a little space between each one so they do not touch. The first few dips will barely change the wick. That is normal. The candle builds slowly, and the early passes are just laying the foundation.
The Rhythm of the Dip
Dip, lift, pause, repeat. That is the whole craft. Each dip adds a thin layer of fat, and each pause lets it harden before the next pass. If you dip too fast, the layers will not set and the candle will droop. If you wait too long, the layers will not bond and the candle will crack. The right rhythm is somewhere in between, and you will feel it after the first dozen dips.
As the candle grows, you can shape it. Some people roll the warm candle on a board to straighten it. Others trim the bottom with a knife to make a flat base. A little taper at the top looks traditional and helps the candle sit well in a holder. None of this is required, but it is part of the craft, and it is where your candles start to look like something you would be happy to give away.
When the candle is as thick as you want it, hang it to cure for a day or two. Then trim the wick, and you have a taper that will burn for hours. It is slower than pouring, and it uses more of your time. But there is something about a hand-dipped candle that a poured one cannot match. It carries the memory of the work, and that is part of what makes it worth burning.

Author

22 feb,2025
This incident opened my eyes to the value of Insurance in general, so I decided to examine my personal and business insurance.




Comment (3)
The payments are made directly from one person to another without passing through a central bank or clearing house.
22 feb,2025
ReplyCandlelight Without Electricity: Building a Tallow Candle Kit
23 feb,2025
ReplyThe Slow Craft of Hand-Dipped Tallow Candles
23 feb,2025
Reply